
Configuring Azure Active Directory with long-lived tokens for user provisioning
July 16, 2024Azure Active Directory (Azure AD) is Microsoft's cloud-based identity and access management service, designed to simplify user authentication and authorization across various applications and platforms. It offers a centralized solution for managing user identities, enforcing security policies, and facilitating seamless access to cloud-based resources. Azure AD automatic user provisioning simplifies the creation, maintenance, and removal of user identities in SaaS applications based on business rules.
The Azure AD provisioning service provisions users to the HPE GreenLake portal by connecting to the user management API endpoints provided by HPE GreenLake Identity and Access Management (IAM). These user management API endpoints allow Azure AD to programmatically create, update, and remove users and groups. The Azure AD provisioning service uses an HPE GreenLake tenant API token to provision users and groups to the HPE GreenLake IAM. The HPE tenant API tokens are only valid for fifteen minutes. Because Azure AD cannot automatically renew the token, long-term tokens are required.
In this blog post, I'll explain the process for configuring Azure AD to use a long-term token for user and group provisioning.
Steps to configure long-term tokens in Azure AD
- Connect to the HPE GreenLake portal and assign roles required for System for cross-domain identity management (SCIM)
- Get a personal access token
- Create a SCIM proxy token
- Update the SCIM proxy token and the tenant URL in Azure AD Enterprise Application
- Update the attribute mappings of Users and Groups
- User/Group Provisioning
Step 1: Connect to HPE GreenLake portal and assign roles required for System for Cross-domain Identity Management (SCIM)
Assign "SCIM Proxy Token Contributor" role to the user or user group that will create the long-term token
- Connect to the HPE GreenLake portal (https://common.cloud.hpe.com).
- Cross-launch "HPE GreenLake Flex Solutions" service.
- Click the "User Management" icon on the top-right corner.
- Select the user/user group that will generate the SCIM proxy token.
- Select "Actions" and then "Create Assignment".
- Select "SCIM Proxy Token Contributor" role.
- Select "All Resources" space and "greenlake.service.user" scope.
- Enable "I confirm that I want to create the assignments listed above".
- Click "Create Assignment" button.
Step 2: Get a personal access token
An API token issued by the HPE GreenLake Flex Solutions platform must be used as the Bearer token in the Authorization header of HPE GreenLake Flex Solutions REST API requests. Perform the following steps to get API access token from HPE GreenLake Flex Solutions portal:
- Log into HPE GreenLake Flex Solutions.
- Click the profile icon on the top-right corner.
- Select API Access.
- Copy the API access token.
- Save it for use with cURL or an other REST API client.
- For example: export BEARER_TOKEN=
Note: This token is valid for 15 minutes after generation.
Step 3: Create a SCIM proxy token
A SCIM Proxy Token is required for the SCIM integration to work. Run the following cURL command to generate the SCIM Proxy token:
curl -H "Authorization: bearer $BEARER_TOKEN" -X POST https://sps.us1.greenlake-hpe.com/v1alpha1/proxytoken
Note: This step must be performed once during the initial setup and every time a token is deleted.
Step 4: Update the SCIM proxy token and the tenant URL in Azure AD Enterprise Application
The generated SCIM Proxy Token should be copied and applied in the Azure AD Enterprise Application.
- In Azure AD, go to the “Enterprise applications”.
- Click the “SSO-Integration” application.
- Click the “Provisioning” on the left navigation window.
- Click the “Get started.

- Select "Provisioning Mode" to "Automatic"
- Click the “Admin Credentials”.
- Update the generated token in the “Secret Token” field.
- Update the URL https://sps.us1.greenlake-hpe.com/v1alpha1/scimproxy in the “Tenant URL” field.
- Test connection - Connection should HPE GreenLake platform should succeed.
- Save the configuration.

Step 5: Update the attribute mappings of users and groups
Before provisioning the users/groups to HPE GreenLake platform, edit the attribute mappings:
- Update the attribute mapping of Users
- Unselect the update options under "Target Object Actions"
- customappsso attribute should have below attributes configured\ userName\ displayName\ name.givenName\ name.familyName

- Update the attribute mapping of groups
- customappsso attribute should have the below attributes configured\ displayName\ externalid\ members

Save the configuration and enable the provisioning status from "OFF" to "ON"

- Assign the Azure AD group to the Enterprise application
- Note: This step is very important to give access to subset of groups and users who need access to HPE GreenLake platform from large enterprise groups from Azure AD.

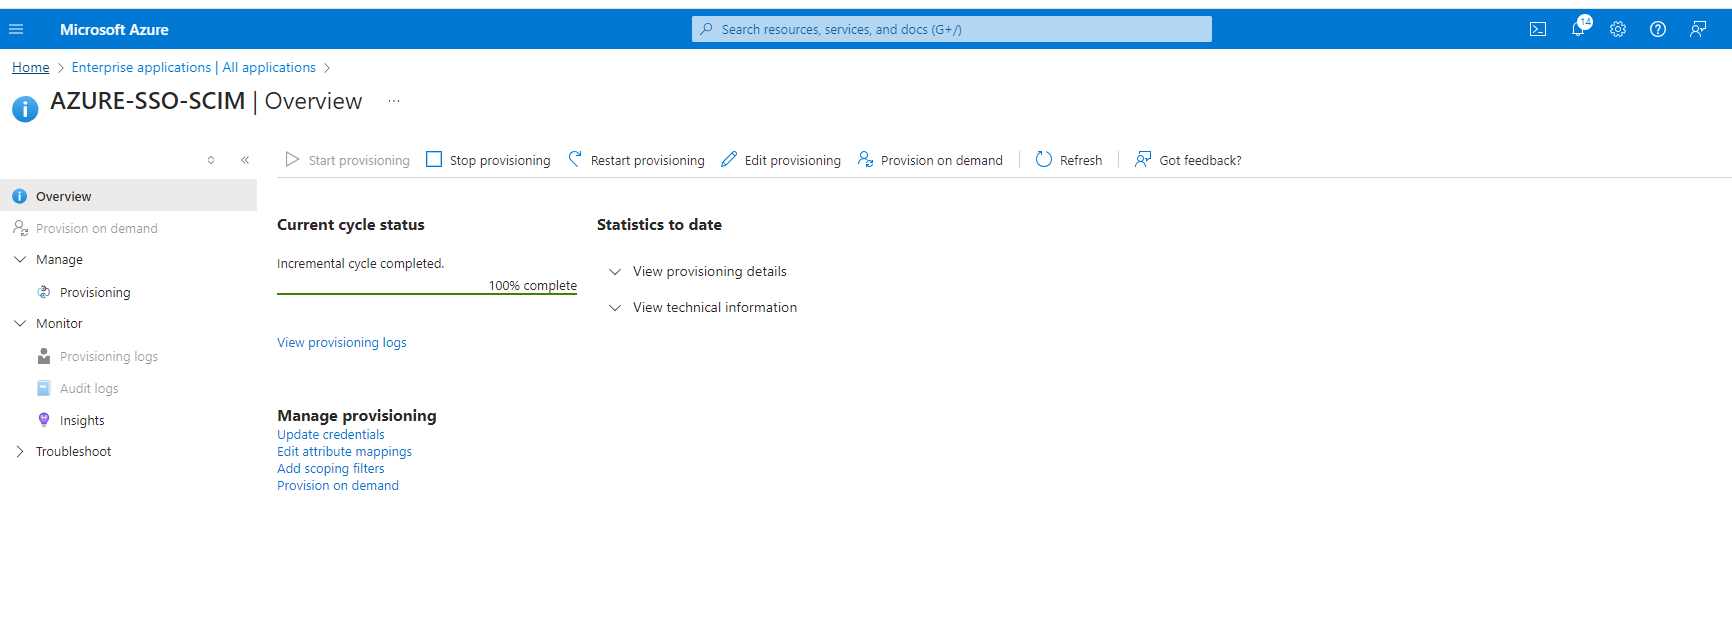
Step 6: User/Group Provisioning
All set to provision the groups/users to "HPE GreenLake platform".
- Click "Start Provisioning" to start.
- Upon successful provisioning verify the users and groups are pushed to "HPE GreenLake platform"
- Click "Stop Provisioning" to stop.
- Click "View Provisioning" logs to view the failures.
Users can rotate a long-lived token before its expiration date using the following API:
curl -H "Authorization: bearer $BEARER_TOKEN" -X POST https://sps.us1.greenlake-hpe.com/v1alpha1/proxytoken/rotate?remove-current=true
When the "remove_current" flag is enabled, it replaces the current token with a new one. During this process, there might be a temporary disruption in user and group provisioning, which will automatically resolve itself in the subsequent provisioning cycle. Alternatively, if the "remove_current" flag is disabled, the current token is replaced only after the new token takes effect, ensuring uninterrupted user experience without any provisioning failures.
I hope this blog post answers any questions you may have regarding configuration of SCIM with HPE GreenLake platform. Please return to the HPE Developer Community blog for more tips and tricks on working with the HPE GreenLake platform.
Related
A guide to enabling a managed Istio service mesh in a Kubernetes cluster on HPE GreenLake for Private Cloud Enterprise
Feb 16, 2023
Bare metal provisioning on HPE GreenLake using Terraform
Mar 20, 2023
Create a General-Purpose Kubeconfig File in HPE GreenLake for Private Cloud Enterprise
May 20, 2022Curate and Expose Service Catalog Items using HPE GreenLake for Private Cloud Enterprise
Feb 16, 2022Deploy stateful MongoDB applications on Kubernetes clusters in HPE GreenLake for Private Cloud Enterprise
Aug 16, 2022Deploying Super Mario game on Kubernetes in HPE GreenLake for Private Cloud Enterprise
Mar 29, 2024A guide to deploying MongoDB applications using HPE GreenLake for Private Cloud Enterprise
Dec 1, 2022