
Setting up the load balancer with MetalLB in HPE GreenLake for Private Cloud Enterprise
September 1, 2023This blog post describes how to set up the load balancer using MetalLB for a Kubernetes (K8s) cluster in HPE GreenLake for Private Cloud Enterprise. It allows customers to configure load balancing services for their workloads deployed in K8s clusters.
Overview
Using HPE GreenLake for Private Cloud Enterprise: Containers, customers can create services with the type of NodePort for their workloads deployed in K8s clusters using the label hpecp.hpe.com/hpecp-internal-gateway=true. The services will be automatically exposed to a container platform gateway host with assigned ports. The deployed workloads will become accessible externally using the gateway host name and the assigned ports as access URLs.
Different from various public cloud providers, such as GCP, AWS and Microsoft Azure, HPE GreenLake for Private Cloud Enterprise doesn’t support network load balancers by default. As cluster administrators, after you create K8s cluster, you can integrate cluster with any load balancers in place to support K8s services of type LoadBalancer. This blog post will show you how to use MetalLB to provide load balancing services for K8s clusters in HPE GreenLake for Private Cloud Enterprise. It provides customers with the flexibility to configure custom load balancers for their deployed workloads in HPE GreenLake for Private Cloud Enterprise.
Prerequisites
Before starting, make sure you meet the following requirements:
- A K8s cluster, being provisioned in HPE GreenLake for Private Cloud Enterprise
- The kubectl CLI tool, together with the kubeconfig file for accessing the K8s cluster
- A range of virtual IP addresses. Those IP addresses should not be used in any existing K8s clusters. They will be assigned to the load balancer services.
Deploy MetalLB for load balancing
MetalLB is a software solution that provides a network load balancer implementation for Kubernetes clusters using standard routing protocols. By installing MetalLB, it will support the LoadBalancer services within the Kubernetes clusters.
This section describes the detailed steps to deploy MetalLB and configure it to support the LoadBalancer services in the Kubernetes clusters.
1. Deploy MetalLB
MetalLB can be deployed by applying the following YAML manifest file:
$ MetalLB_RTAG=$(curl -s https://api.github.com/repos/metallb/metallb/releases/latest|grep tag_name|cut -d '"' -f 4|sed 's/v//')
$ echo $MetalLB_RTAG
0.13.10
$ kubectl apply -f https://raw.githubusercontent.com/metallb/metallb/v$MetalLB_RTAG/config/manifests/metallb-native.yaml
namespace/metallb-system created
customresourcedefinition.apiextensions.k8s.io/addresspools.metallb.io created
customresourcedefinition.apiextensions.k8s.io/bfdprofiles.metallb.io created
customresourcedefinition.apiextensions.k8s.io/bgpadvertisements.metallb.io created
customresourcedefinition.apiextensions.k8s.io/bgppeers.metallb.io created
customresourcedefinition.apiextensions.k8s.io/communities.metallb.io created
customresourcedefinition.apiextensions.k8s.io/ipaddresspools.metallb.io created
customresourcedefinition.apiextensions.k8s.io/l2advertisements.metallb.io created
serviceaccount/controller created
serviceaccount/speaker created
role.rbac.authorization.k8s.io/controller created
role.rbac.authorization.k8s.io/pod-lister created
clusterrole.rbac.authorization.k8s.io/metallb-system:controller created
clusterrole.rbac.authorization.k8s.io/metallb-system:speaker created
rolebinding.rbac.authorization.k8s.io/controller created
rolebinding.rbac.authorization.k8s.io/pod-lister created
clusterrolebinding.rbac.authorization.k8s.io/metallb-system:controller created
clusterrolebinding.rbac.authorization.k8s.io/metallb-system:speaker created
secret/webhook-server-cert created
service/webhook-service created
deployment.apps/controller created
daemonset.apps/speaker created
validatingwebhookconfiguration.admissionregistration.k8s.io/metallb-webhook-configuration created
The above command installs the latest MetalLB v0.13.10 to the K8s cluster. It first creates the namespace metallb-system, sets up the role-based access control (RBAC), creates a list of customer resource definitions (CRDs) and finally deploys a list of pods and services.
You can check and confirm all pods and services are deployed successfully:
$ kubectl get all -n metallb-system
NAME                             READY   STATUS    RESTARTS   AGE
pod/controller-7967ffcf8-8lgwc   0/1     Running   0          37s
pod/speaker-24l42                1/1     Running   0          36s
pod/speaker-g2q9h                1/1     Running   0          36s
pod/speaker-kkmsj                1/1     Running   0          36s
pod/speaker-ss4w7                1/1     Running   0          36s
pod/speaker-xl7bv                1/1     Running   0          36s
pod/speaker-zfl7s                1/1     Running   0          36s

NAME                      TYPE        CLUSTER-IP       EXTERNAL-IP   PORT(S)   AGE
service/webhook-service   ClusterIP   10.105.154.106   <none>        443/TCP   38s

NAME                     DESIRED   CURRENT   READY   UP-TO-DATE   AVAILABLE   NODE SELECTOR            AGE
daemonset.apps/speaker   6         6         4       6            4           kubernetes.io/os=linux   37s

NAME                         READY   UP-TO-DATE   AVAILABLE   AGE
deployment.apps/controller   0/1     1            0           38s

NAME                                   DESIRED   CURRENT   READY   AGE
replicaset.apps/controller-7967ffcf8   1         1         0       38s
2. Define a range of IP addresses
After all MetalLB components are deployed, you can start creating and allocating a range of IP addresses, which can be used by MetalLB to assign IP addresses to services.
The customer resource definition (CRD) IPAddressPool will be used for defining the range of IP addresses. After it’s deployed to the cluster, all the IP addresses will be allocated for MetalLB to use.
$ cat IPAddressPool.yaml
apiVersion: metallb.io/v1beta1
kind: IPAddressPool
metadata:
  name: cfe-pool
  namespace: metallb-system
spec:
  addresses:
- 172.16.17.250-172.16.17.254

$ kubectl apply -f IPAddressPool.yaml
ipaddresspool.metallb.io/cfe-pool created

$ kubectl get IPAddressPool -n metallb-system
NAME       AUTO ASSIGN   AVOID BUGGY IPS   ADDRESSES
cfe-pool   true          false             ["172.16.17.250-172.16.17.254"]
The above command allocates the IP pool that has the IP range 172.16.17.250-172.16.17.254. The IP addresses in the IPAddressPool can be defined by CIDR and IPV6 addresses as well.
3. Announce the service IP addresses
Once the IP addresses are allocated, you must announce service IPs. The MetalLB Configuration site shows a list of configuration approaches you can use to announce service IPs. The below example shows the details of using the Layer 2 mode to configure service IP addresses. This approach does not need any protocol specific configuration, only IP addresses from the IPAddressPool.
$ cat L2Advertisement.yaml
apiVersion: metallb.io/v1beta1
kind: L2Advertisement
metadata:
  name: example
  namespace: metallb-system
spec:
  ipAddressPools:
  - cfe-pool

$ kubectl apply -f L2Advertisement.yaml
l2advertisement.metallb.io/example created

$ kubectl get L2Advertisement -n metallb-system
NAME      IPADDRESSPOOLS   IPADDRESSPOOL SELECTORS   INTERFACES
example   ["cfe-pool"]
Deploy Nginx app as the service type LoadBalancer
As a sample web application, the Nginx with the service type of LoadBalancer will be deployed to the K8s cluster using the following YAML manifest file:
$ cat nginx-deployment.yaml
apiVersion: v1
kind: Service
metadata:
  name: cfe-nginx-app
  labels:
    app: nginx-app
spec:
  type: LoadBalancer
  ports:
  - port: 80
    name: http
  selector:
    app: nginx-app
---
apiVersion: apps/v1
kind: Deployment
metadata:
  labels:
    app: nginx-app
  name: cfe-nginx-app
spec:
  replicas: 1
  selector:
    matchLabels:
      app: nginx-app
  template:
    metadata:
      labels:
        app: nginx-app
    spec:
      volumes:
      - name: webdata
        emptyDir: {}
      initContainers:
      - name: web-content
        image: busybox
        volumeMounts:
        - name: webdata
          mountPath: "/webdata"
        command: ["/bin/sh", "-c", 'echo "<h1> Hi, this is the sample <font color=blue>Nginx App</font> deployed as the Load Balancer service type !</h1>" > /webdata/index.html']
      containers:
      - image: nginx
        name: nginx
        volumeMounts:
        - name: webdata
          mountPath: "/usr/share/nginx/html"

$ kubectl apply -f nginx-deployment.yaml
service/cfe-nginx-app created
deployment.apps/cfe-nginx-app created
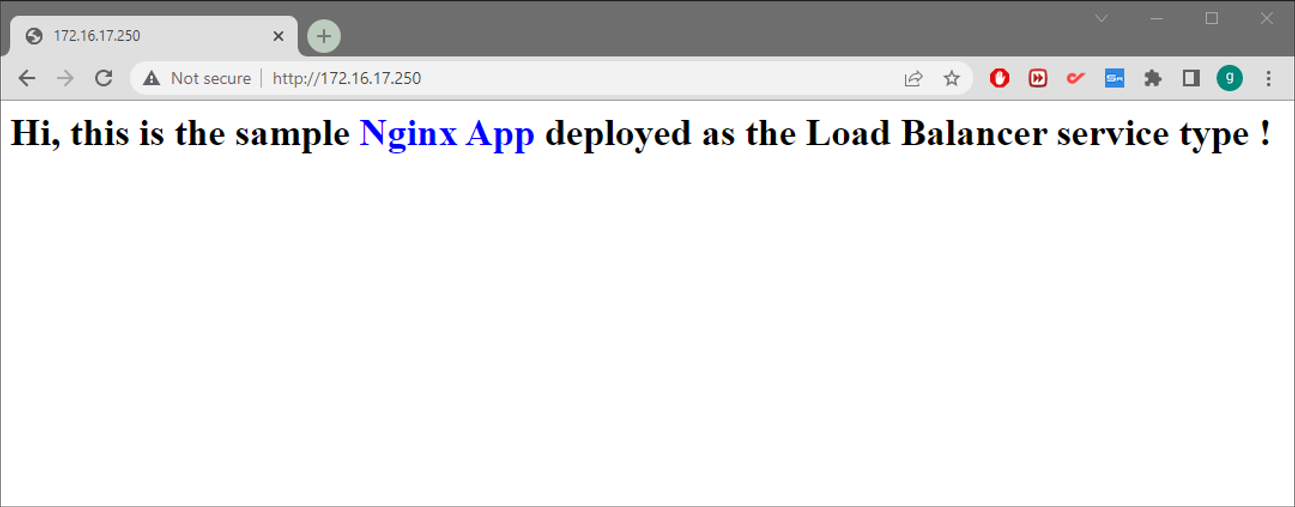
You can check the Nginx application deployment by typing the following command, using the label app=nginx-app, and confirm all pods and services are in running states. For the sample service cfe-nginx-app, you should see it’s been deployed as the LoadBalancer type and an IP address, 172.16.17.250, gets assigned as its EXTERNAL-IP :
$ kubectl get all -l app=nginx-app
NAME                                 READY   STATUS    RESTARTS   AGE
pod/cfe-nginx-app-66cb4f5bbf-4nfw5   1/1     Running   0          3m20s

NAME                    TYPE           CLUSTER-IP     EXTERNAL-IP     PORT(S)        AGE
service/cfe-nginx-app   LoadBalancer   10.98.244.64   172.16.17.250   80:31631/TCP   3m22s

NAME                            READY   UP-TO-DATE   AVAILABLE   AGE
deployment.apps/cfe-nginx-app   1/1     1            1           3m21s

NAME                                       DESIRED   CURRENT   READY   AGE
replicaset.apps/cfe-nginx-app-66cb4f5bbf   1         1         1       3m22s
To verify the deployed Nginx application is working, launch your web browser and open http://172.16.17.250. The following should now show in your browser:
Summary
This blog post describes the detailed process used to deploy and set up MetalLB to support customers to configure load balancers for K8s clusters in HPE GreenLake for Private Cloud Enterprise. By deploying load balancing configuration, it provides an externally accessible IP address that sends traffic to the deployed workload. It also allows customers to use Kubernetes Ingress, in place of Service, for different traffic routing support of their deployed workloads in K8s clusters. This supports deploying applications by passing the customer certificates through their own authority. It unblocks a list of potential use cases and enhances HPE GreenLake by providing additional flexibilities.
You can keep coming back to the HPE Developer blog to learn more about HPE GreenLake for Private Cloud Enterprise.
Tags
Related
A guide to enabling a managed Istio service mesh in a Kubernetes cluster on HPE GreenLake for Private Cloud Enterprise
Feb 16, 2023
Bare metal provisioning on HPE GreenLake using Terraform
Mar 20, 2023Configuring Azure Active Directory with long-lived tokens for user provisioning
Jul 16, 2024Create a General-Purpose Kubeconfig File in HPE GreenLake for Private Cloud Enterprise
May 20, 2022Curate and Expose Service Catalog Items using HPE GreenLake for Private Cloud Enterprise
Feb 16, 2022Deploy stateful MongoDB applications on Kubernetes clusters in HPE GreenLake for Private Cloud Enterprise
Aug 16, 2022A guide to deploying MongoDB applications using HPE GreenLake for Private Cloud Enterprise
Dec 1, 2022